 Digital
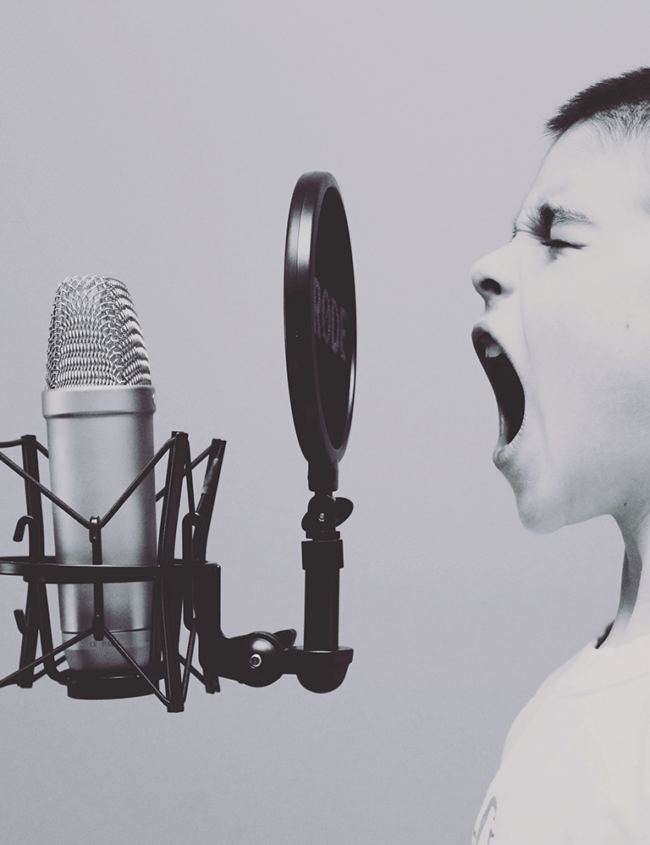
How to take your CEO on the journey to build best-in-class marketing
Looking to record a podcast for your business? Great idea! Podcasts have been seeing a surge in popularity lately, growing from 550k shows in 2018 to an estimated 850k in Jan 2020!
No matter what gear you’re using or where you’re recording, whether you’ve just started, or even celebrating your thousandth subscriber – the following are some practical steps you can take to up your podcast game.
1. Use a decent mic
– Decent. It doesn’t have to be top of the line or expensive. But avoid cheap, nasty stuff, like gaming headsets or phones. Try to go for something made for recording vocals or dialogue. There is a world to choose from and what you select will depend on your budget and other gear you have, such as an outboard audio interface, portable recorder, mixing desk etc.
- Large diaphragm mics (like this) are great for dialogue in quiet rooms
- If you’re outdoors or at an event you’ll probably want a lavalier mic or similar (like this)
- If the mic doesn’t have a built-in pop filter, it might be worth getting an external one
- Best practice is one mic for each person
<img ” src=”https://green-hat.com.au/wp-content/uploads/2020/03/rode.jpg” alt=”Rode Procaster microphone” width=”100%” height=”auto” /> Image from Rode
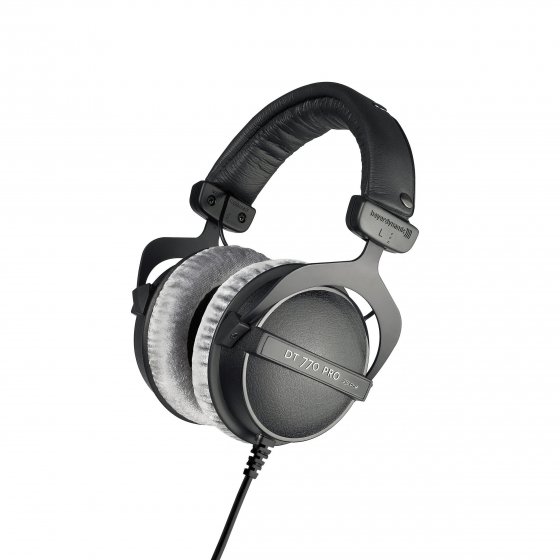
2. Use decent headphones
– Do not use in-ear Apple earbuds. Every time you do, you make a sound engineer cry.
– Get yourself a pair of over-ear isolating monitor headphones. Again, you don’t need to spend big, but read some reviews and get something that’s purpose is for mixing and listening to things as they are. Many commercial headphones are made to make music sound ‘better’ by applying a little extra low-end (bass), pulling back on mids and tapering off the high-end (treble). Many also do a pretty poor job of keeping outside noise from getting in. Don’t get noise-cancelling headphones, you want to hear the noise.
– If possible, you want to listen to yourself while you record, which means one separate pair of headphones for each person.
3. Find a quiet space
– Probably the most obvious tip, but also the most important. Reducing hiss, hum and other constant noises isn’t too hard to do, but removing birds, traffic noise, people talking in the background or removing reverb is a far harder task.
– Remove noisy things from the room and turn off any things that tick, ring, click, whir or wail. This includes phones and laptops.
- If you are recording into the laptop or need it for reference, try to make sure it isn’t sitting on the same surface as the mic, the vibrations from fans and hard drives will travel across the surface and directly into the mic. Another option is placing the laptop on the table as far from the mic as possible and resting it on some foam or folded material.
– Find a room that doesn’t have obvious reverb or echo. I’m not talking about a church or car park (although obviously avoid those) but even small rooms can have troublesome reverb (think singing in the shower). You want a room with carpet on the floor, sound tiles on the ceiling, soft furnishings or anything that will help absorb and diffuse sound waves.
- A quick 101 on reverb – reverb is sound being reflected in a space. A large room produces longer and more complex reverb, a smaller room produces sharp, short reverb. Hard flat surfaces reflect audio very well, soft and porous surfaces absorb and diffuse sound. Most spaces will have some level of reverb – what you are looking for is something that sounds natural and where the sound of your ‘direct signal’ (your voice) is much louder than the ‘wet signal’ (reverb).
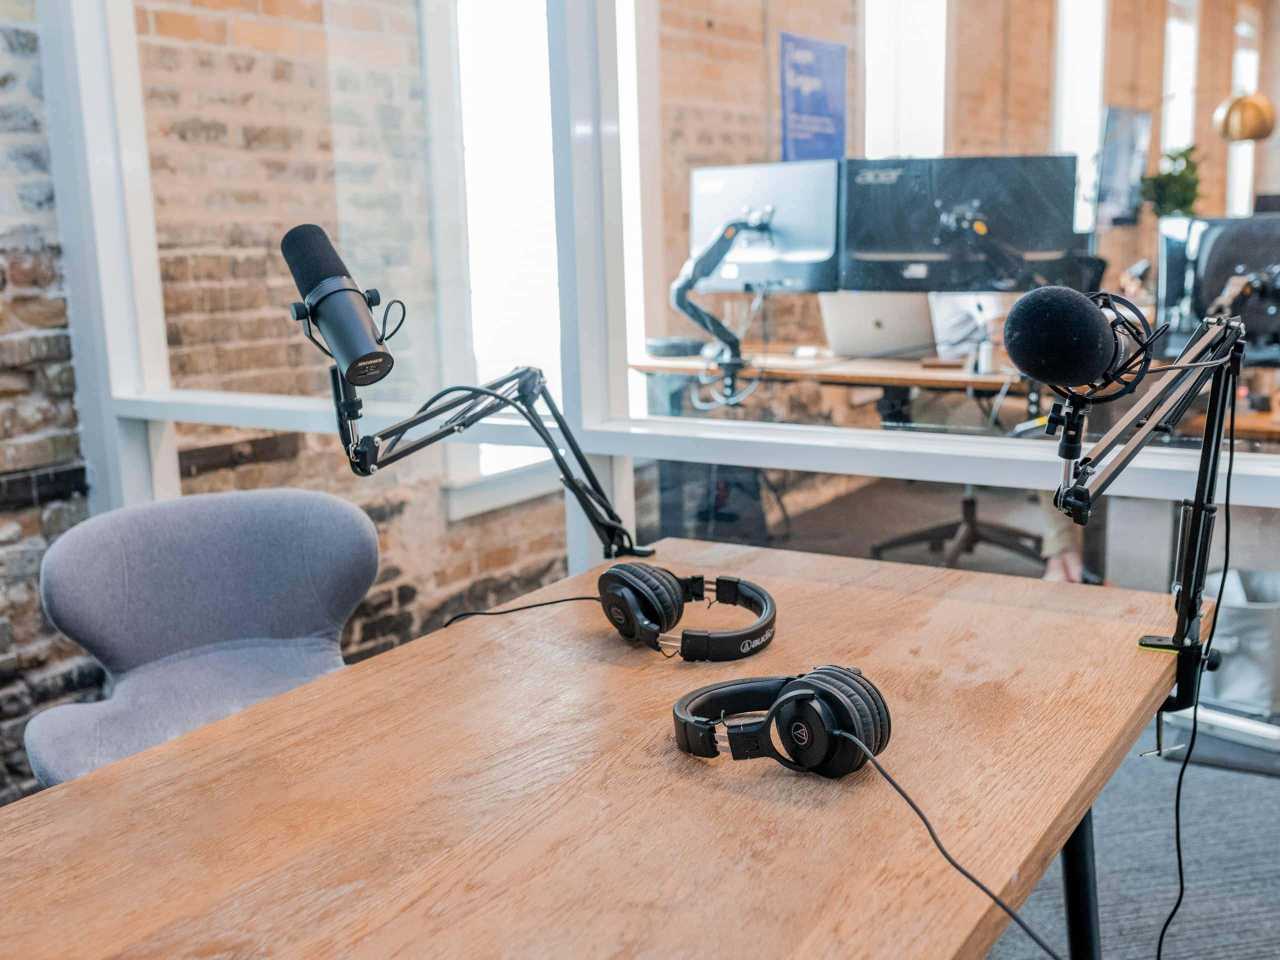
Photo by Austin Distel on Unsplash
4. Set yourself up
– Plug in – Grab your gear and head into space. Set up your mic(s) where you think you’ll be using them and pop on your headphones. Then start listening to the space through your headphones (press record or your monitor button).
- If you’re using a lavalier mic, make sure you position it correctly on your clothing where it won’t move around too much or brush against things. A top pocket or third button down usually works well.
– Listen – Spend a solid 30 secs listening to the room noise and ambience of the space. You’re listening for things you could possibly avoid by moving, closing a door, or asking if the people in the room across the hall would mind having their ‘discussion’ elsewhere.
– Clap – then listen to the sound being reflected. Can you hear the reflection? Think about how loud it was and how complex in comparison to the sound of you actually clapping. If the reflection was loud, you might need to get some absorbency and diffusion in the room. Couches work well. So do these.
– Look – Take a look at your set-up in comparison to where you’re sitting, ensure you’re not going to accidentally bump your mic or knock the surface it’s sitting on.
5. Get your levels right
– After you find a good place to record and a good place for your mic(s), it’s time to find a good place for yourself. The mic should be pointed toward you and ideally less than 30cm away from your mouth, but if you’re sharing one mic between multiple people this can be difficult, so just ensure its an equal distance between the two of you and as close as possible to you both.
- The closer your mic is to the source of the thing you want to record, the louder it is in comparison to things you don’t want to record i.e. room noise and reverb.
– Don’t get too close – you’ll get ‘mouth’ noise and if you don’t have a pop filter you risk big ‘pops’ on words that use plosive consonants such as ‘p’ ‘t’ and ‘k’.
– Set your gain (recording/input volume) to match your natural speaking voice volume – don’t adjust the volume of your voice or move the mic further away. Try taking the headphones off for a bit during this task (otherwise you will naturally adjust your voice to the volume in the headphones) and set the gain visually by watching the levels, try to get them sitting up between -3db and -6db. Try talking louder, try an excited laugh or similar and make sure the levels never ‘clip’ (hit the red). If it’s too loud in your headphones, turn down your headphone output volume, not the recording/input volume.
– Record yourself talking then listen back.
- If you’re using multiple mics, you run the risk of phase cancellation. I won’t go into the specifics, but if it sounds strange when recording with both mics but fine when you record with just one mic, you are likely experiencing some phase cancellation. Easily fixed by just moving the mics away from each other a little.
- Listen to the sound of the reverb in the room, think about how loud the reverb is and how natural it sounds. Moving where you’re recording in the room or moving closer to the mic can make a big difference.
6. Record some room tone
– Record 30 seconds of room tone i.e. silence in the room you are recording in. Room tone allows you or your sound engineer to smooth over edits and analyse background noise to help reduce it.
7. Record your podcast!
– Press record, put on your headphones and spend a minute or so just talking and getting comfortable with the sound of your voice through the headphones.
– Get started on the right foot. If you feel you mumbled over your intro or didn’t give it enough ‘oomph’, just do it again.
– Remember your podcast can be edited and you can re-record parts, but try to push through the little stuff ups – it’s supposed to sound like a natural conversation.
Tips for prepping for post-production
If you’re not doing the final mix yourself but you are doing the edit, the following are some great tips for keeping your sound engineer happy and getting the best sounding podcast you can.
– If it was recorded separately, put it on a separate track and name it accordingly.
- Put different sources (i.e Mic 1 & Mic 2) on separate tracks
- Every time you move the mic or record in a different space, the treatment will likely need to be altered. So for ease of production, pop them on separate tracks and give the track a descriptive name i.e. what and where.
– Provide handles.
- Provide a little time before and after sections (2-3 secs) so fades can be adjusted if need be. This is much easier when providing AAF files (unavailable in Ableton).
– Avoid edit ‘clicks’.
- Every time you cut audio you run the risk of cutting at a point in time where the amplitude/volume was not 0. Mostly these go unnoticed until compression and mastering, at which point they can be very obvious. To avoid this, make sure you crossfade or fade in and out with each little edit you create, even if these crossfades are super quick.
– Provide 30+ seconds of room tone.
- It’s important, so I’m mentioning it twice.
– Import and export at the same bit depth and sample rate you recorded at.
- This helps keep things consistent, ensures signal to noise ratio is preserved and avoids resampling.
- If you don’t know what this is, do a little googling.
– Export without effects or compression.
- It’s usually better to let your post engineer do this unless you’ve spoken to them and let them know what and why.
And that’s it. It might sound like a lot to remember, but once you get the basics down you’ll find yourself doing them without thinking and soon enough you’ll be analysing the room tone during your daily meetings.
Happy podcasting!
If you have any questions or need a hand, get in touch with us at Green Hat. We can help out with every step of your podcast journey from set-up to publishing and of course, promotion.